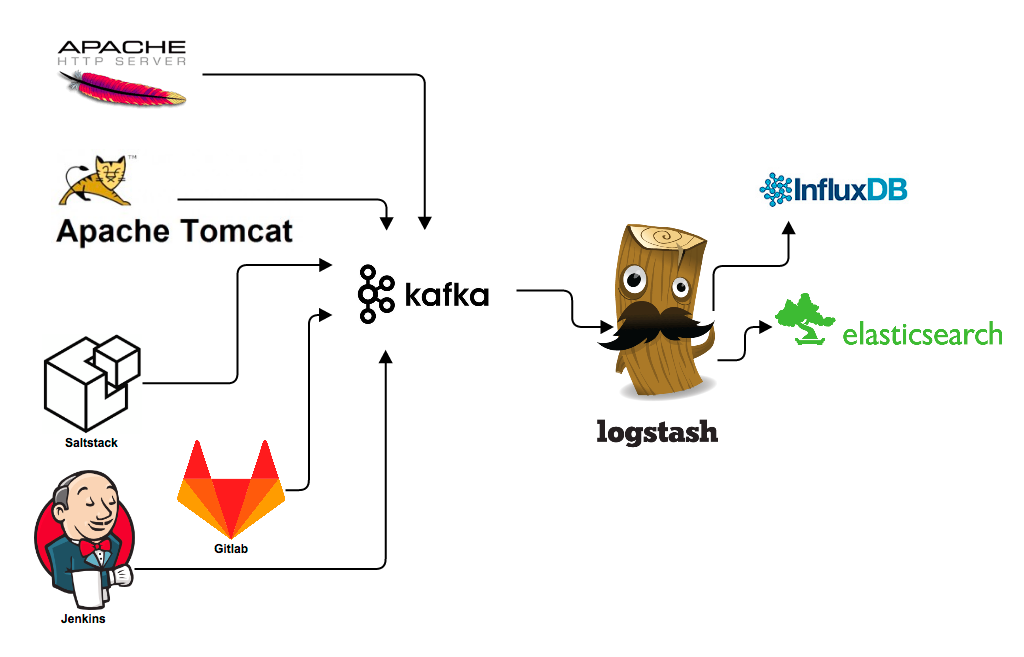
At trivago we rely heavily on the ELK stack for our log processing. We stream our webserver access logs, error logs, performance benchmarks and all kind of diagnostic data into Kafka and process it from there into Elasticsearch using Logstash. Our preferred encoding within this pipeline is Google’s Protocol Buffers, short protobuf. In this blog post, we will explain with an example how to read protobuf encoded messages from Kafka using Logstash.

Protobufs are an efficient serialization format for data with known structure. More and more of our Kafka traffic is becoming encoded using Protocol Buffers. The advantage of using protocol buffer encoded messages is that the messages are shorter than most other log formats. A JSON message, for example, requires key names plus a lot of curly braces to describe the document structure. Given that document structures are not likely to change a lot, this is a waste of ressources. When sender and receiver agree on a document layout, transmitting the skeleton of the document becomes unnecessary. Ressources can be saved along the whole log processing toolchain. Secondly, any consumer of the data can rely on the promise that all messages will be of a certain structure and that there will be no surprising additional fields and no renamed field names. There is much less potential for misunderstandings of the contents of a log message.
Unfortunately, Logstash does not natively understand the protobuf codec. It currently supports plain and JSON messages and some other formats. So we decided to write our own codec to match our decoding needs.
How to write a Logstash codec
Writing a new Logstash plugin is quite easy. You will need some basic Ruby knowledge, but it’s absolutely possible to aquire that on the fly while looking at the example source code. A helpful website for learning some Ruby for beginners has been tryruby.org. You will also have to install Jruby on your development machine. Other requirements, such as bundler are described in elastic’s documentation. Don’t be frustrated when you discover that the example github codec skeleton project is empty. Clone the repository for the JSON codec or the plain codec instead. This way you’ll also see how the existing codec plugins are made up and learn a little Ruby on the way.
Get the protobufs into your Logstash
You can download the final plugin for protobuf decoding here. For using this plugin you will need some protobuf definitions and some protobuf encoded messages. If you already have an application which sends protobuf data then you only need to create Ruby versions of your already existing protobuf definitions. If your application is not set up yet, you might want to take a protobuf primer at Google’s developer pages, find the toolchain which fits your programming language and create protocol buffer definitions for your document’s structure.
Install the plugin
Download the gemfile from rubygems. In your Logstash directory, execute the following command:
bin/plugin install PATH_TO_DOWNLOADED FILEThe codec supports both Logstash 1.x and 2.x.
Create Ruby versions of your protobuf definitions
Imagine the following unicorn.pb is your existing protobuf definition that you want to decode messages for:
package Animal;

message Unicorn {

  // colour of unicorn
  optional string colour: 1;

  // horn length
  optional int32 horn_length: 2;

  // unix timestamp for last observation
  optional int64 last_seen: 3;

}
Download the ruby-protoc compiler. Then run
ruby-protoc unicorn.pbThe compiler will create a new file with the extension .rb, such as unicorn.rb.pb. It contains a Ruby version of your definition:
    #!/usr/bin/env ruby
    # Generated by the protocol buffer compiler. DO NOT EDIT!

    require 'protocol_buffers'

    module Animal
      # forward declarations
      class Unicorn < ::ProtocolBuffers::Message; end

      class Unicorn < ::ProtocolBuffers::Message
        set_fully_qualified_name "animal.Unicorn"

        optional :string, :colour, 1
        optional :int32, :horn_length, 2
        optional :int64, :last_seen, 3
      end

    end
Now you need to make this file known to Logstash by providing its location in the configuration.
Logstash configuration
You can use the codec in any input source for Logstash. In this example, we will use Kafka as the data source. Our config for reading messages of the protobuf class Unicorn looks like this:
{
  zk_connect:> "127.0.0.1"
  topic_id:> "unicorns_protobuffed"
  codec:> protobuf
  {
    class_name:> "Animal::Unicorn"
    include_path:> ['/path/to/compiled/protobuf/definitions/unicorn.pb.rb']
  }
}
A more sophisticated example can be found in the documentation on GitHub. Now fire up your Logstash and let us know how it works! :)

Follow us on